Getting started with Octobudgets
A quick walkthrough of everything you can do — from scanning your first receipt to planning for the future.
Create an account & sign in
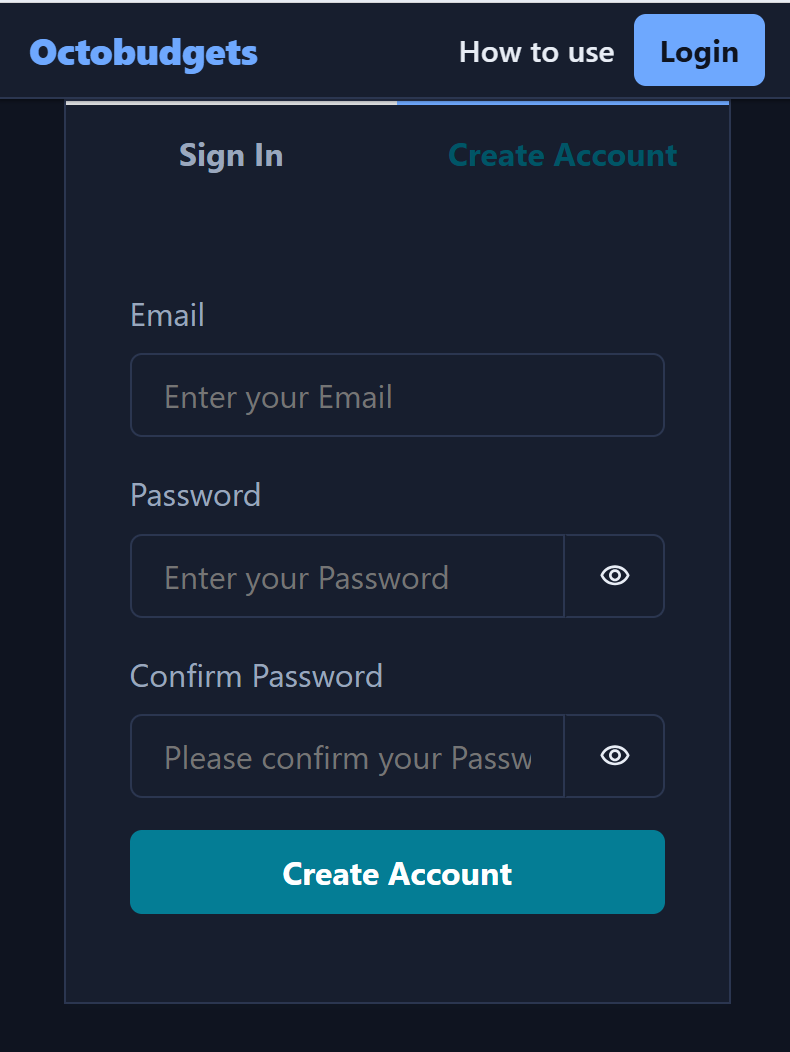
Head to the app and sign up with your email. After confirming your email you'll land on your dashboard. Everything you add — receipts, budgets, projections — is private to your account.
Scan a receipt
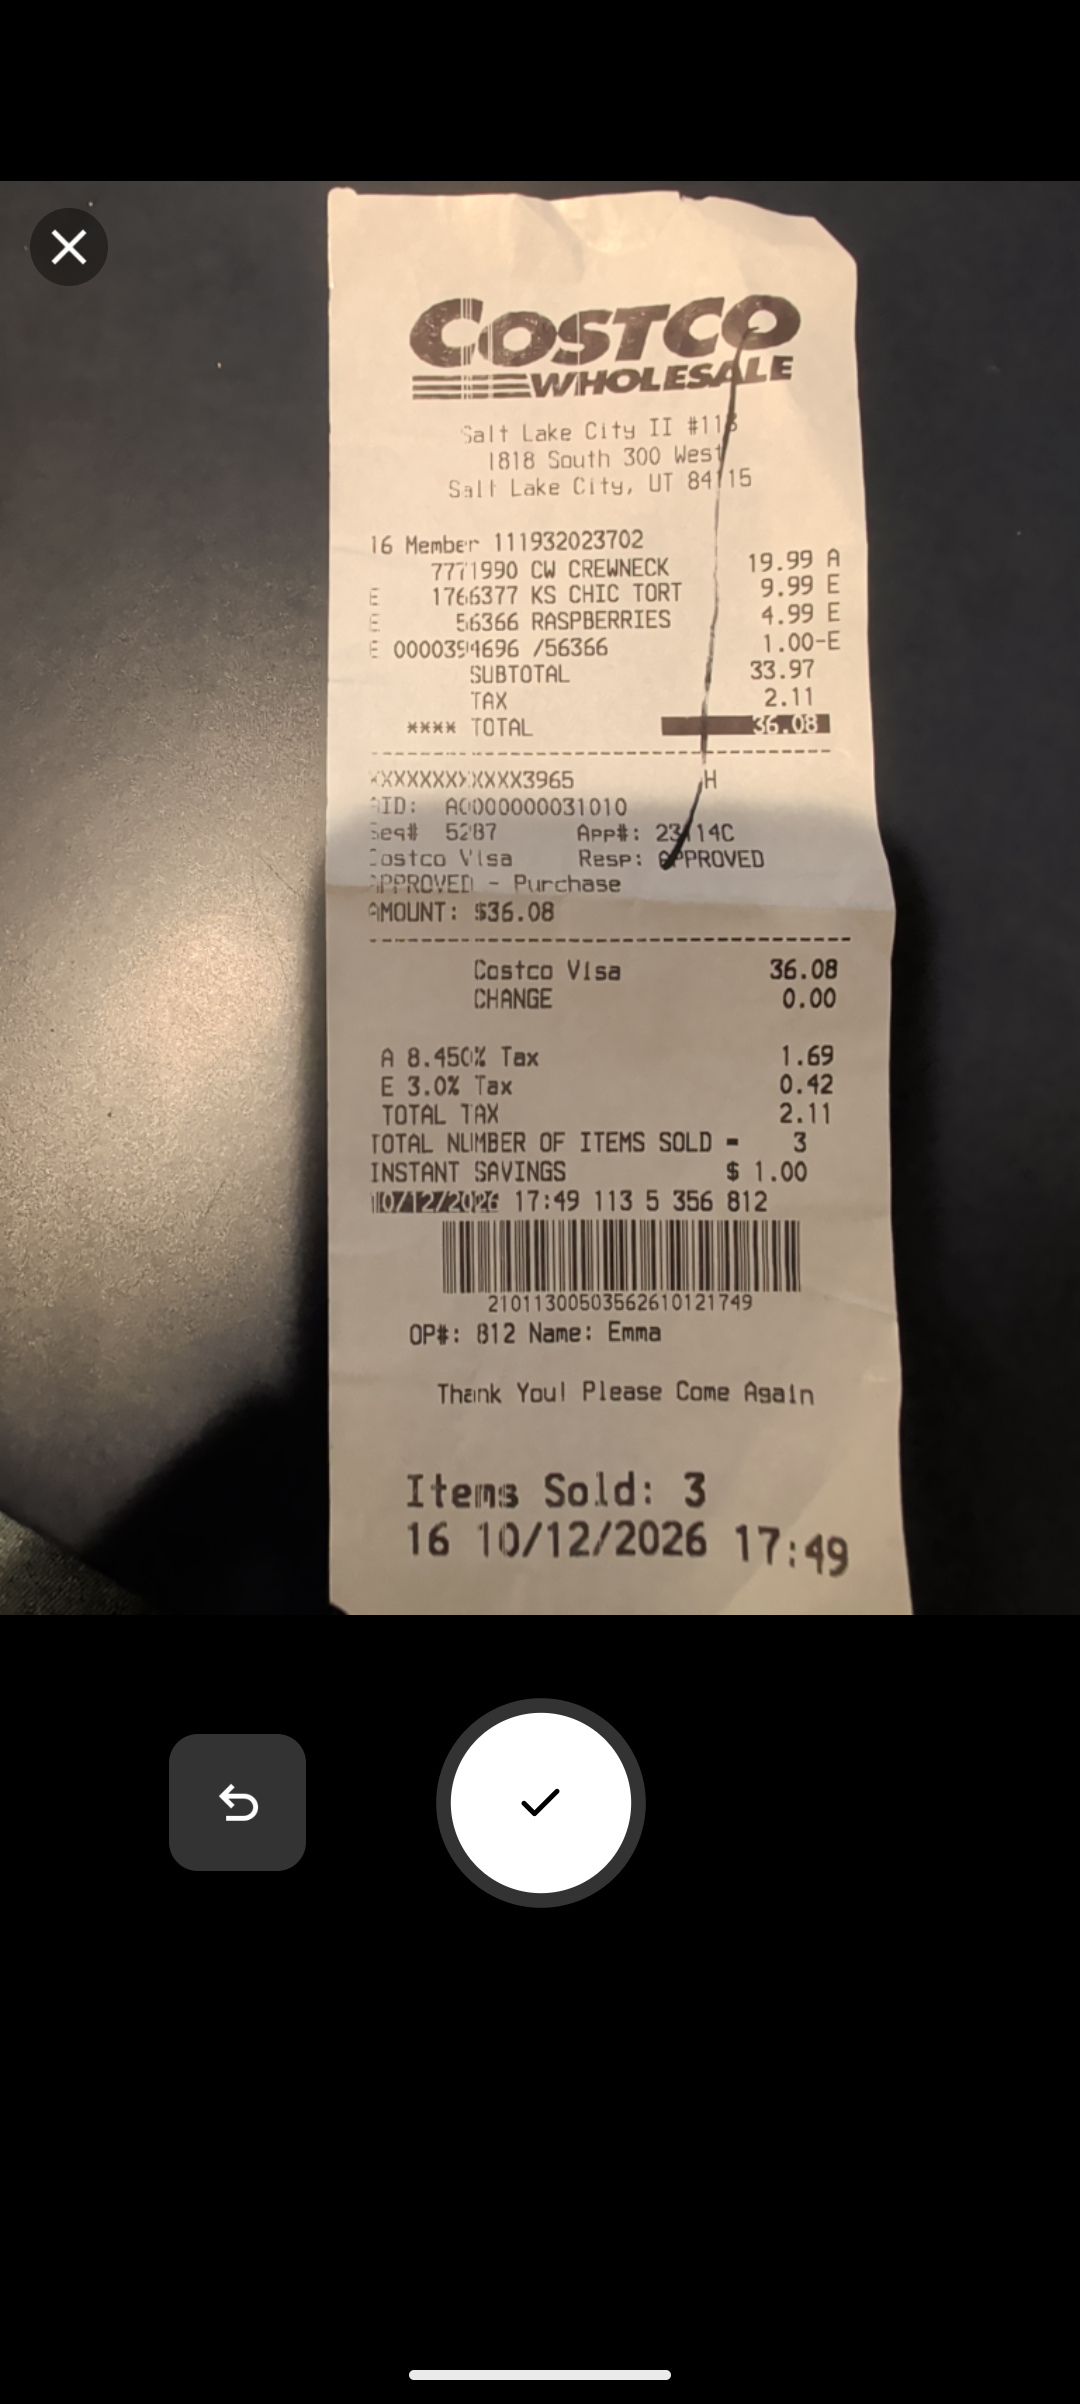
From the dashboard's action bar, tap the camera icon (or the camera in the bottom navigation on mobile). Take a photo of your receipt or upload an existing image.
- Capture or upload the receipt image.
- Press Scan — Octobudgets reads the vendor, date, total and more for you.
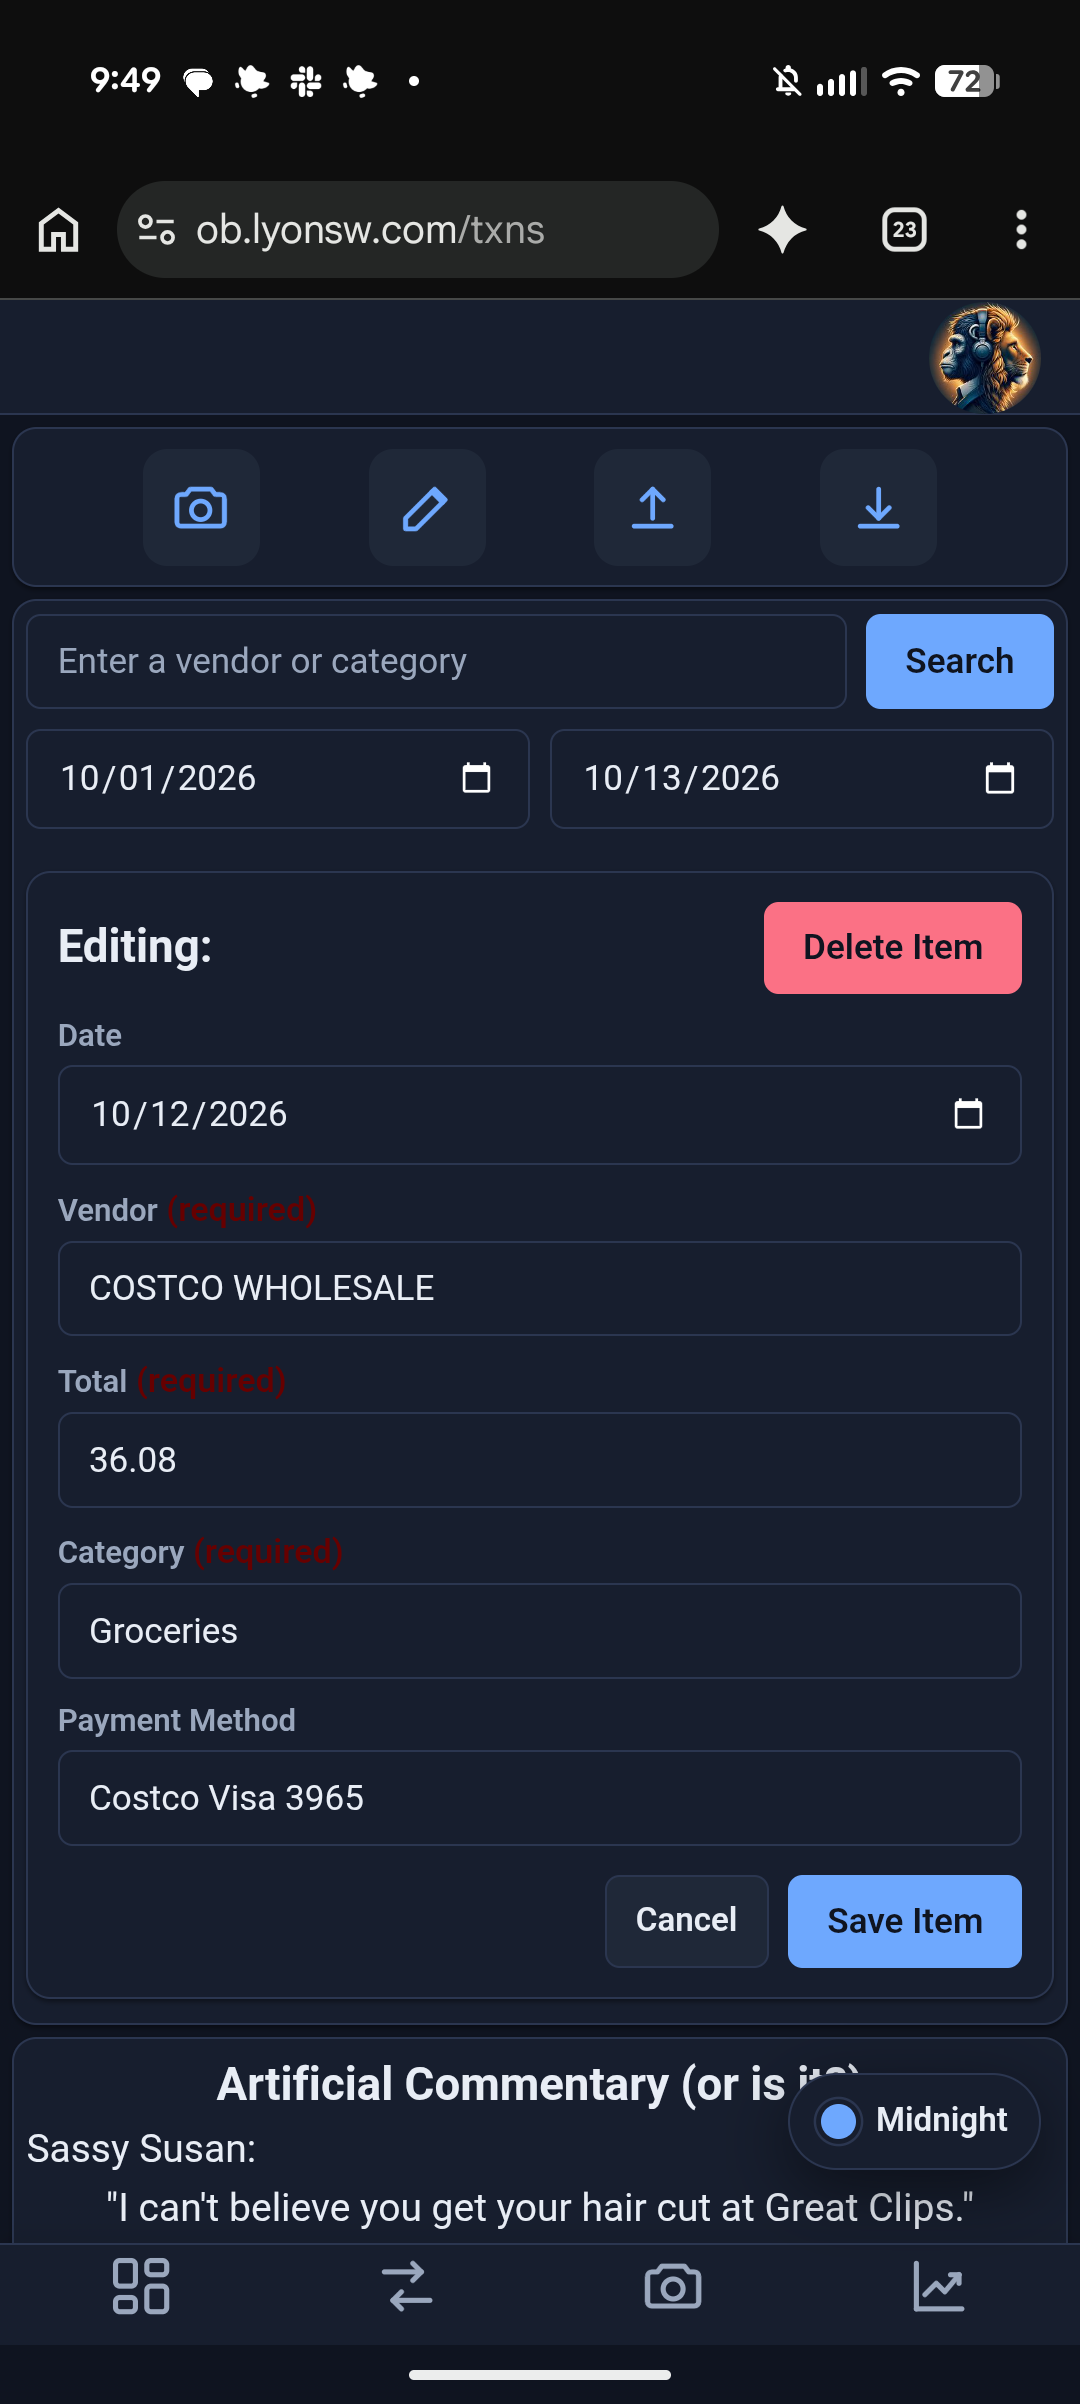
- Review the extracted fields, fix anything, then save.
Add a receipt manually
No photo? Use the pencil icon in the action bar to enter a receipt by hand. Fill in the required fields — vendor, total, category and date — and save.
Import from a spreadsheet
Already track spending in a spreadsheet? Use the import icon to bring in a CSV or Excel file. Your file's header row must use these supported columns:
date, vendor, total, tax, category, tags, paymentMethod, items
Here's an example of a correctly-formatted file:

Set budgets by category
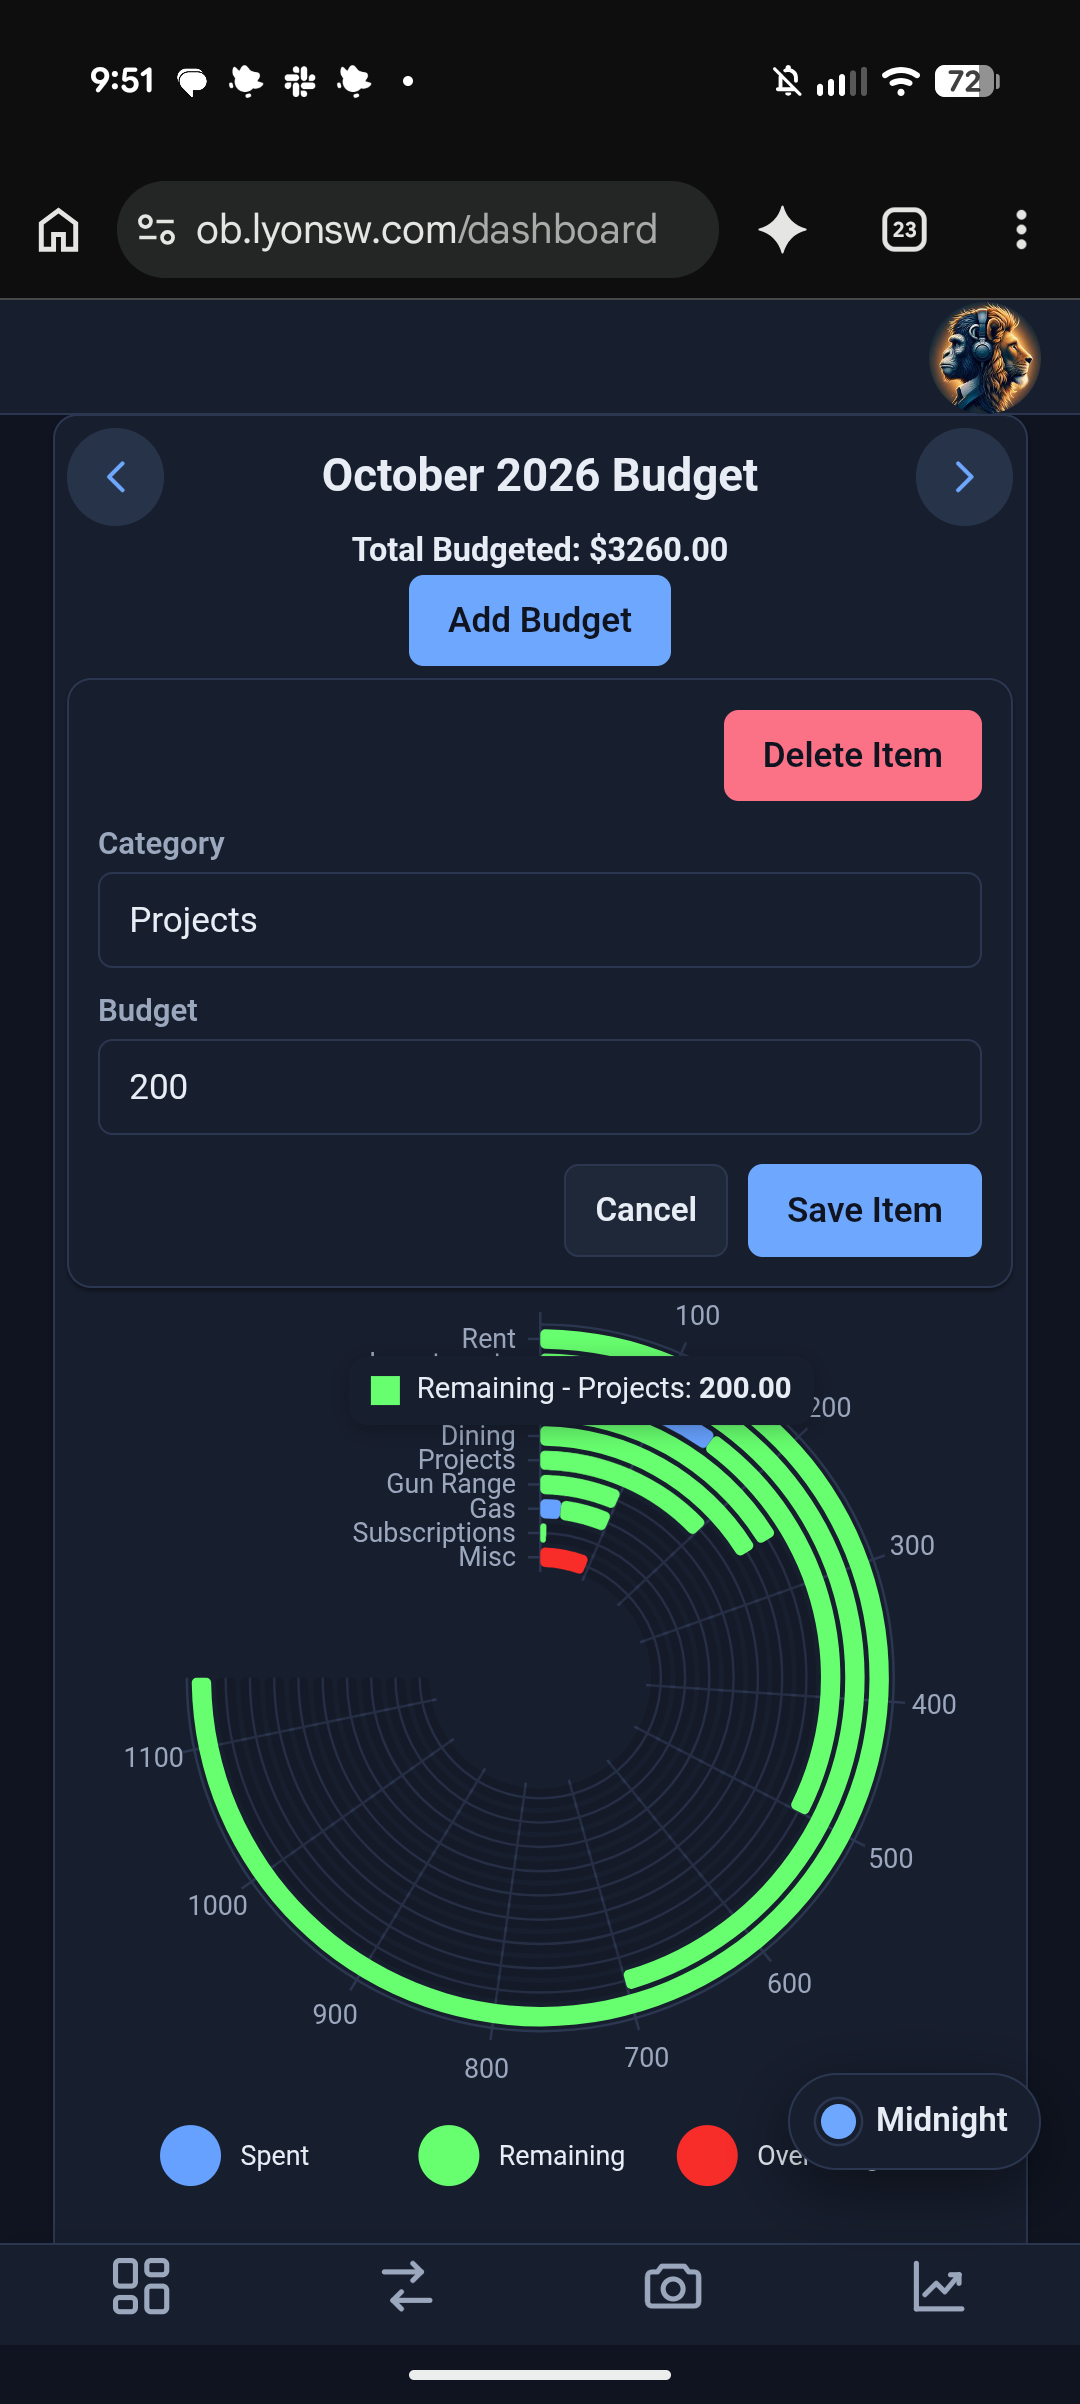
On the dashboard, use the Budget card to add a budget for each spending category. As your receipts come in, the ring chart shows how much of each budget you've spent — the largest budget is the outer ring, down to the smallest in the center.
- Blue shows what you've spent.
- Green shows what's remaining.
- Red shows anything over budget.
Review your transactions
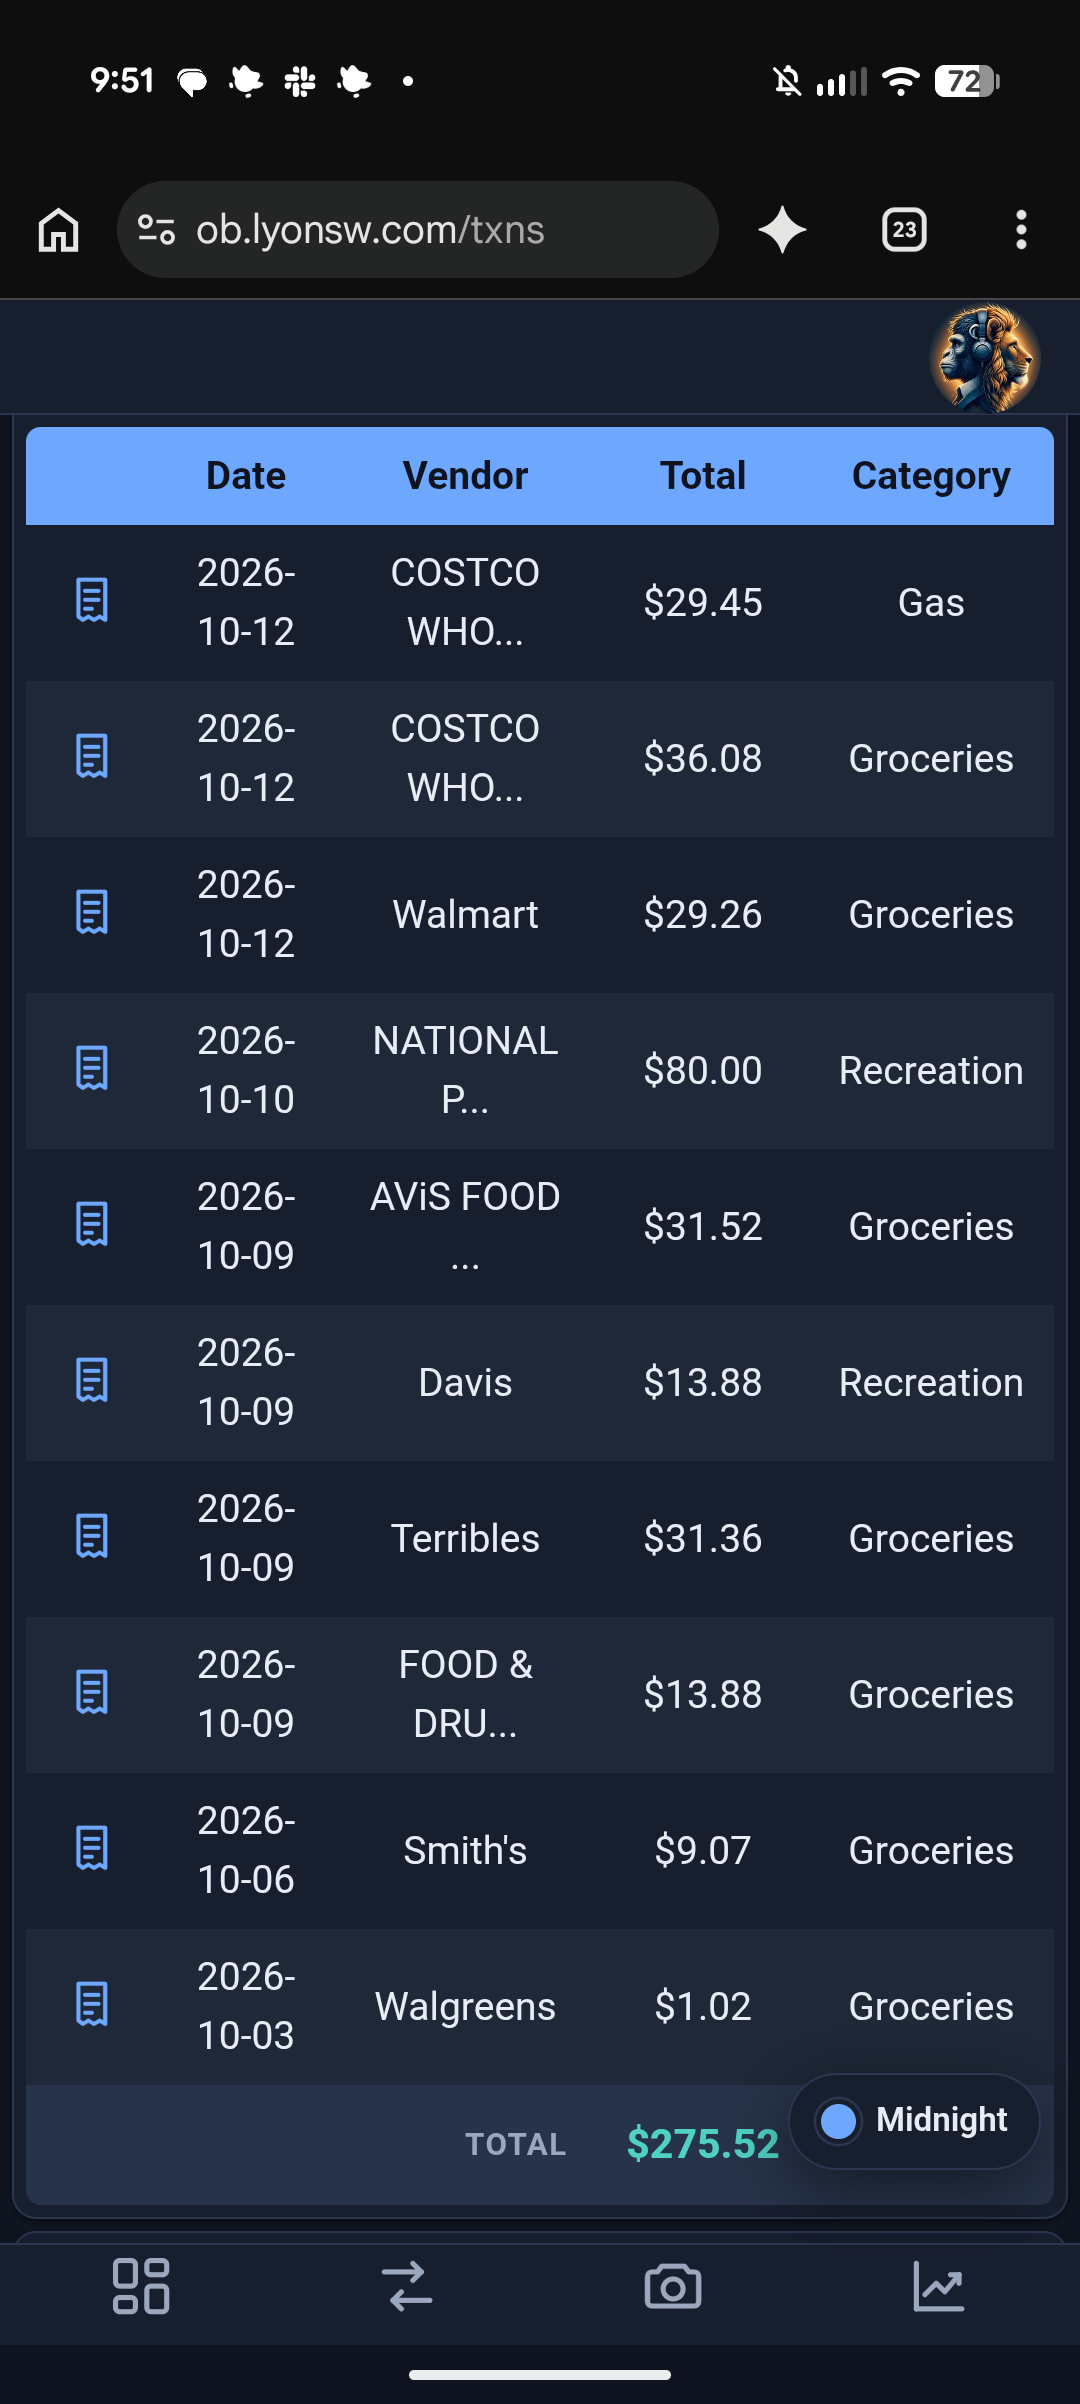
The Transactions page lists every receipt. Search by vendor or category, filter by date range, and sort by any column. Click any row to open it and edit the details, or tap the receipt icon to view the original image.
Plan ahead with projections
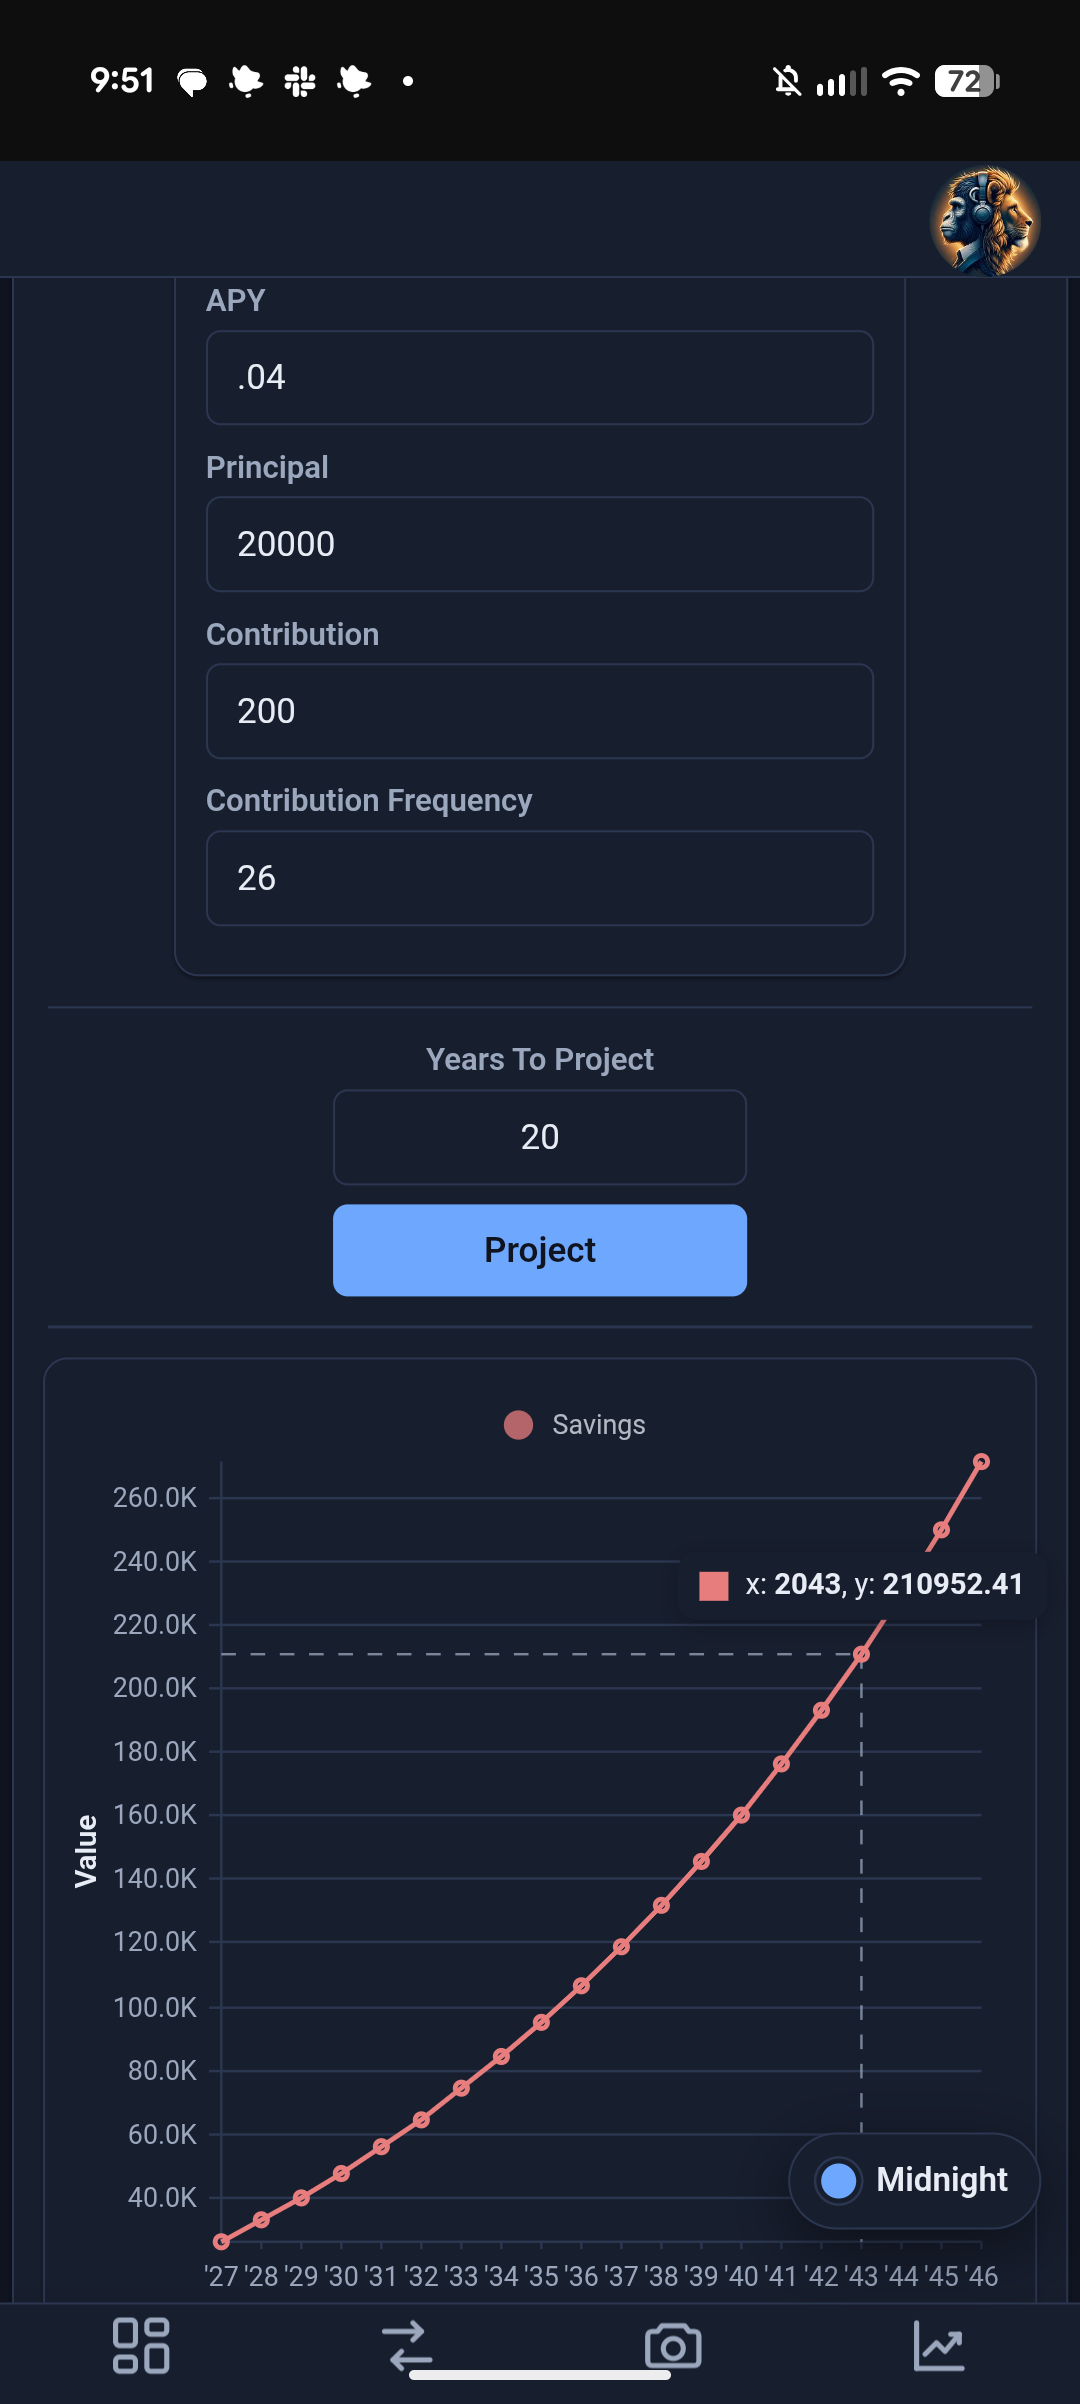
The Projections page helps you forecast savings and investment growth. Add one or more accounts with their APY, principal, and contributions, choose how many years to project, and Project to see the growth over time.